 Much of my adult life is spent improving productivity–both as a knowledge worker and as a poet. However play–inherently non-productive activity–is also incredibly important to me to remain fresh and creative. Plus, it’s fun.
For as long as I can remember LEGO® bricks have been one of my favourite playthings. Being near to Christmas time, I thought it would be fun to make some ornaments for our tree. I found some excellent, but complicated, examples on Chris McVeigh’s website. Like so many spherical structures made with lego, it involves layering cuboids to achieve a rounded effect.
So I started playing on my own, and re-discovered something I that must have first learned very early on about LEGO® bricks–that if you join them corner-to-corner, they can rotate a bit. I began to explore the possibilities in this, and soon landed on rounded ornaments based on hexagonal, instead of square, structures.
This “thinking outside the brick” approach happens most often when I am in an inquisitive frame of mind, and one of the best ways to create that mindset is to give myself permission to not have to produce an outcome, but instead just play.
For those interested, what follows are pictures and step-by-step instructions to make these ornaments.
Instructions
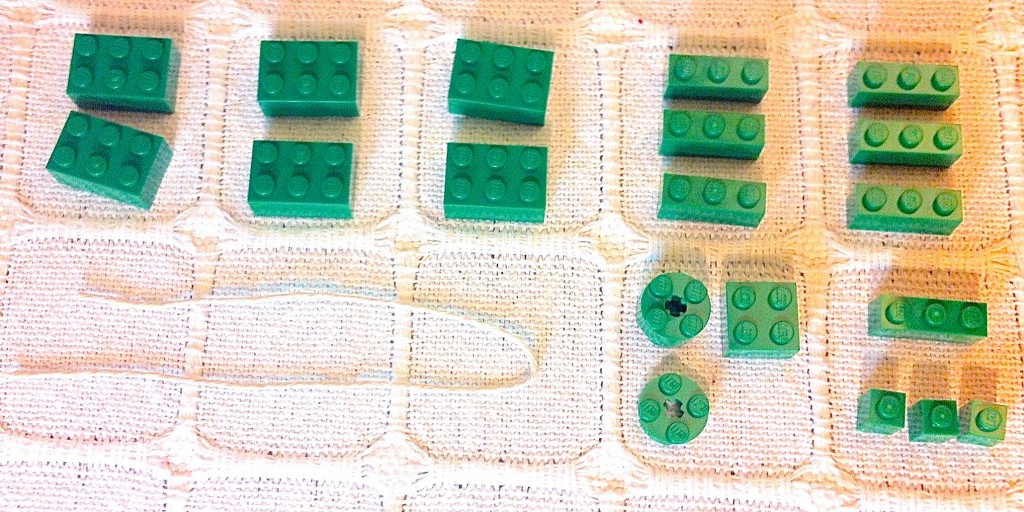
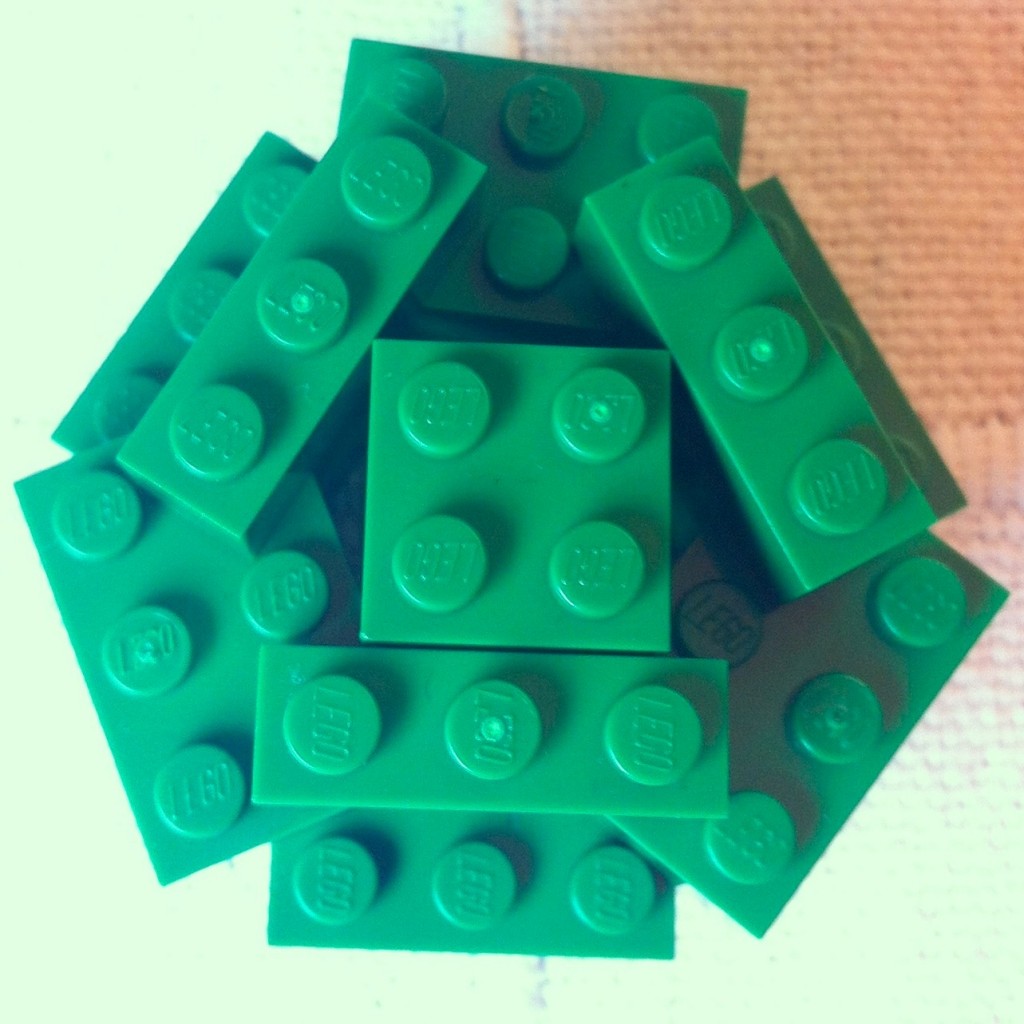
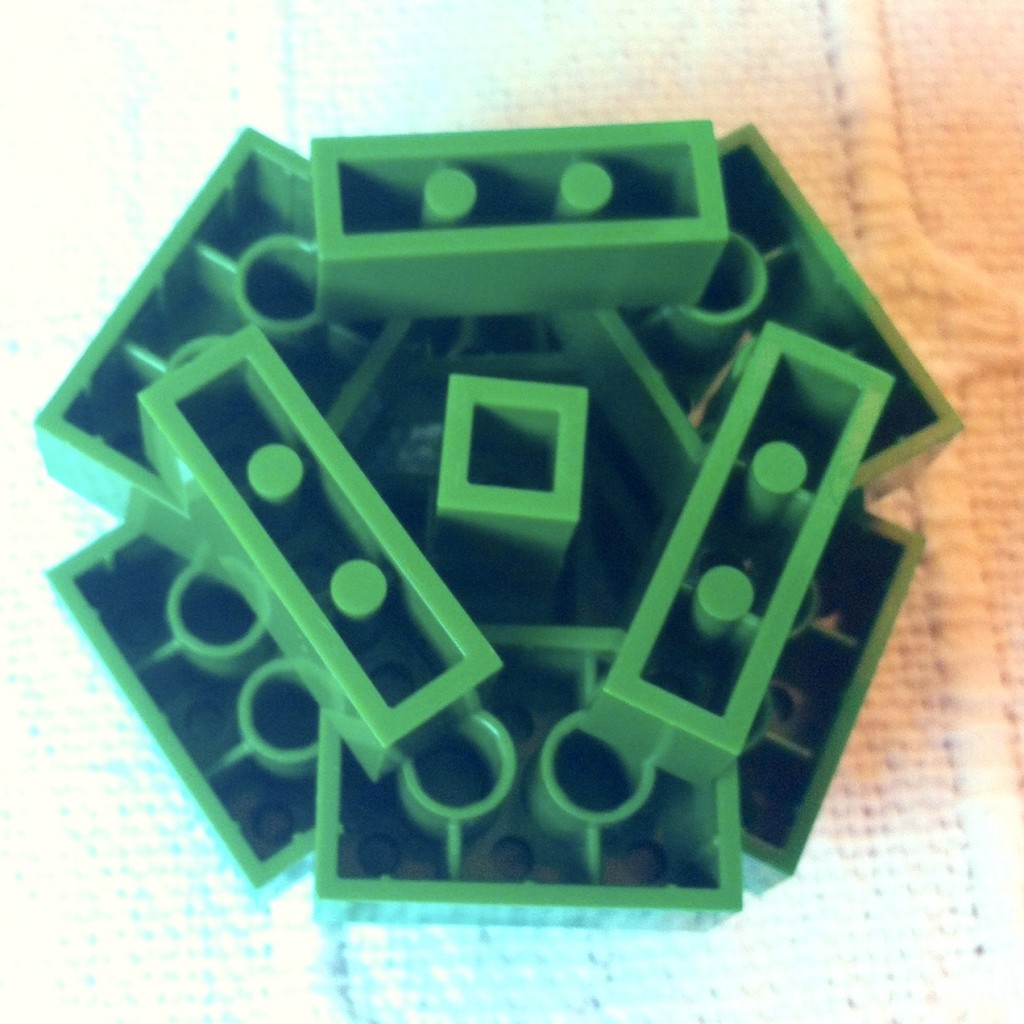
Pieces (19)
Seven (7) 1×3 bricks, Six (6) 2×3 bricks, One (1) 2×2 brick, One (1) 2×2 round brick, One (1) 2×2 round plate, Three (3) 1×1 bricks
Step 1
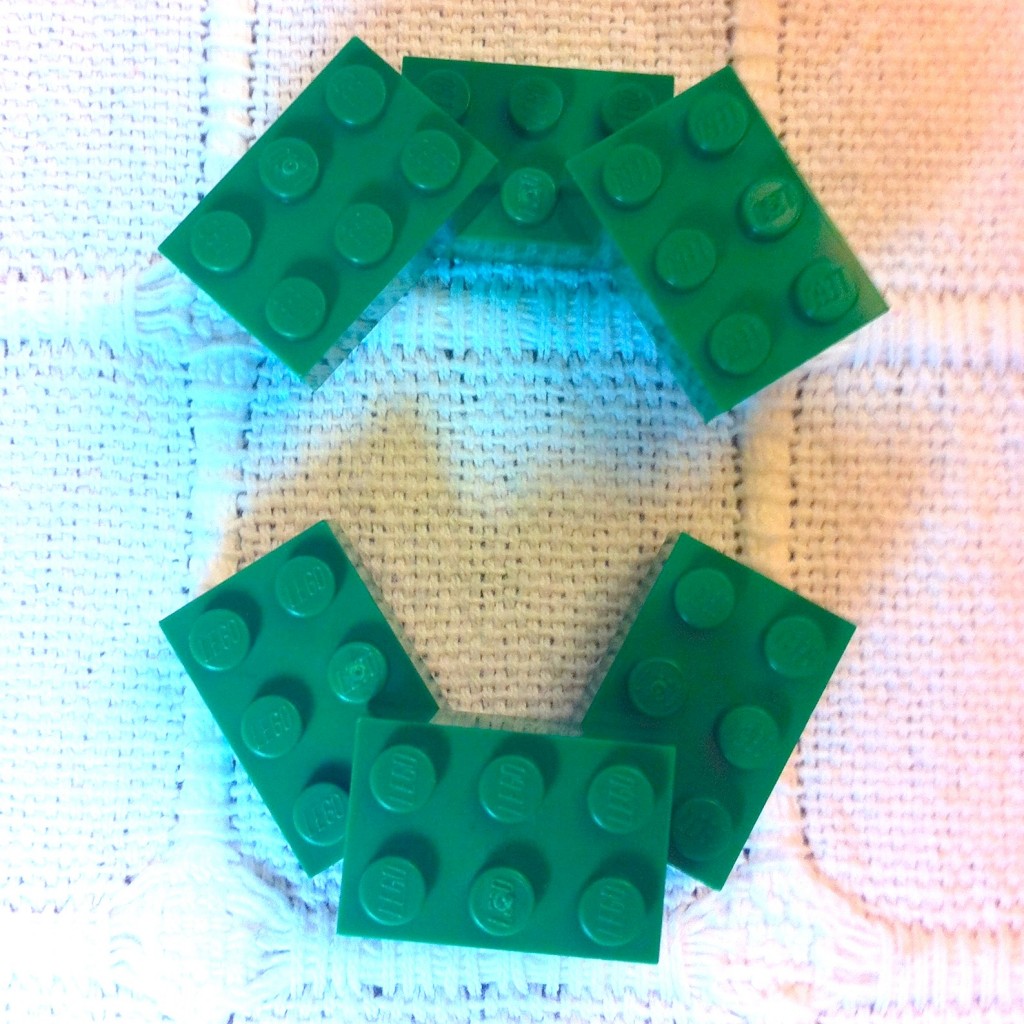
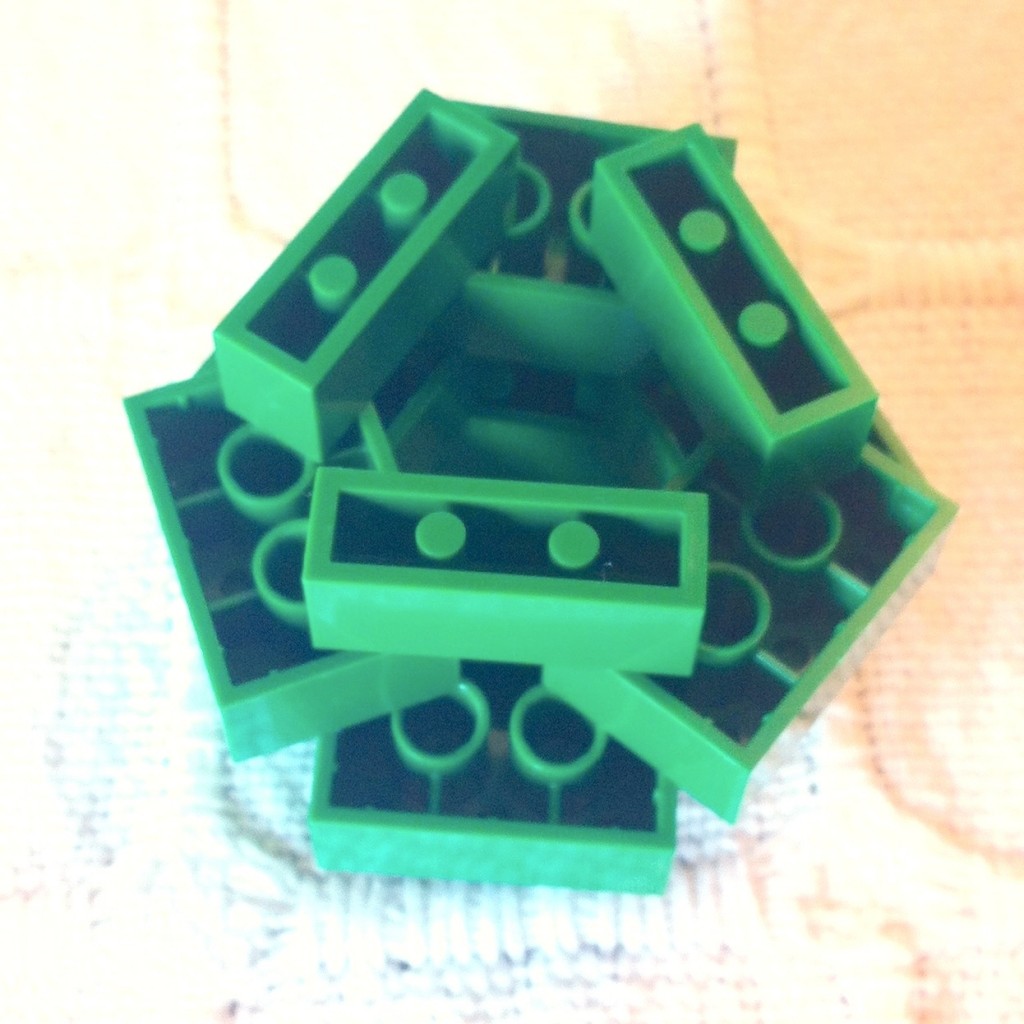
Arrange six 2×3 bricks into a hexagonal pattern as shown.
Pinch the bricks together to avoid breaking other joints.
(⚐ It may be easier to assemble upside down.)
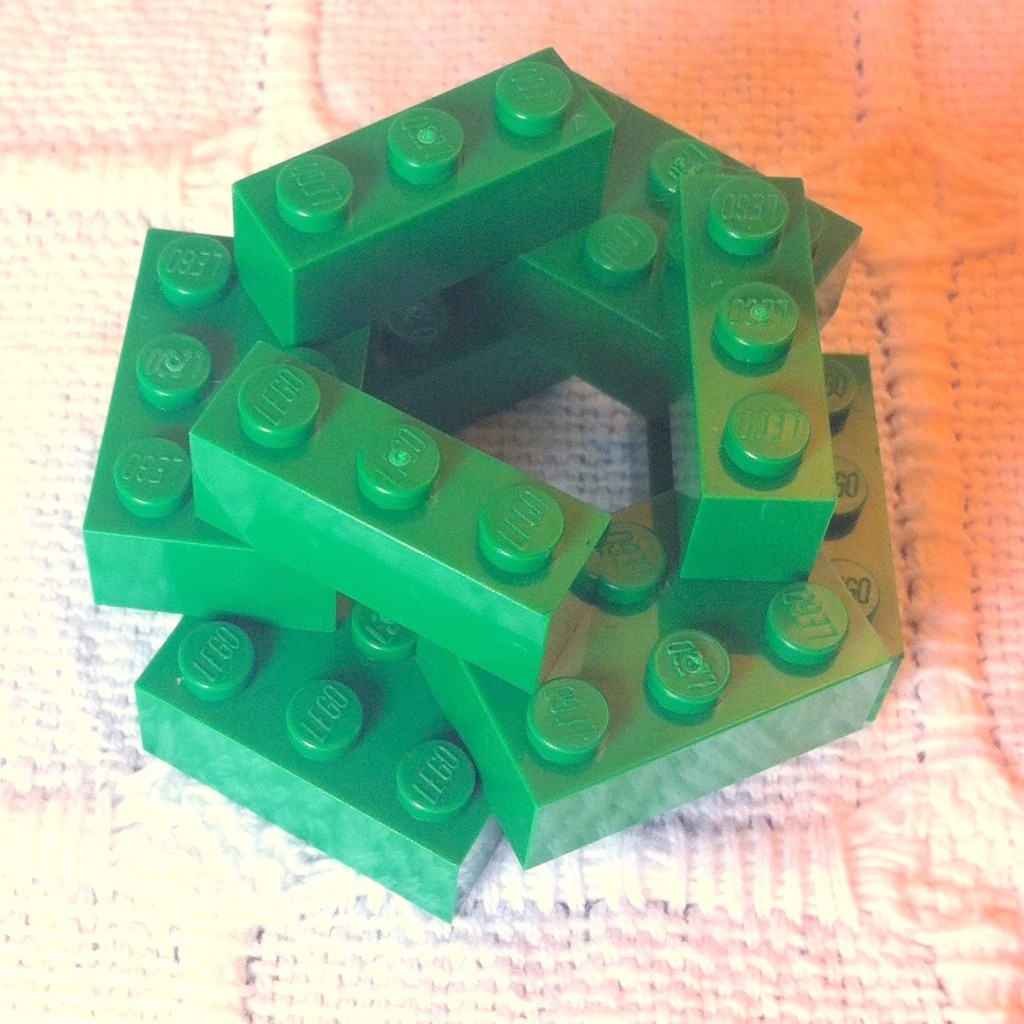
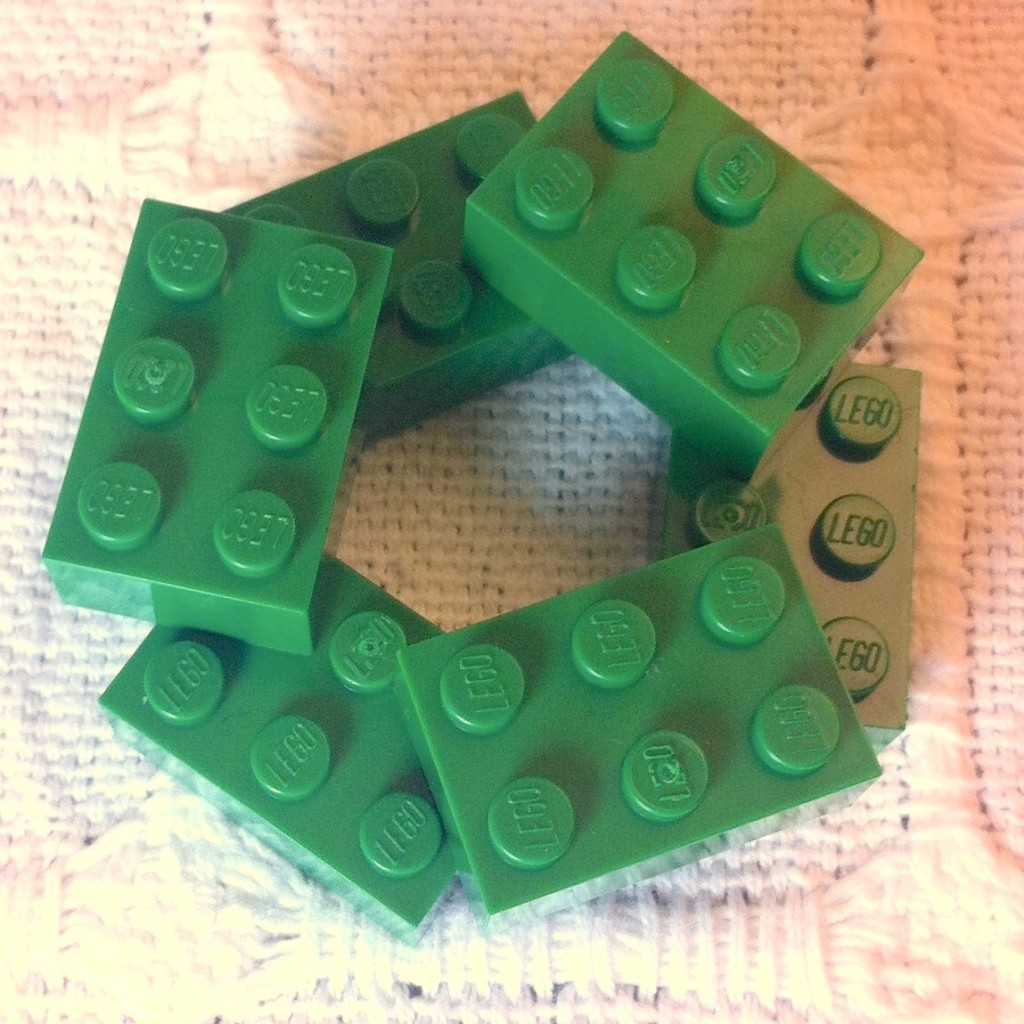
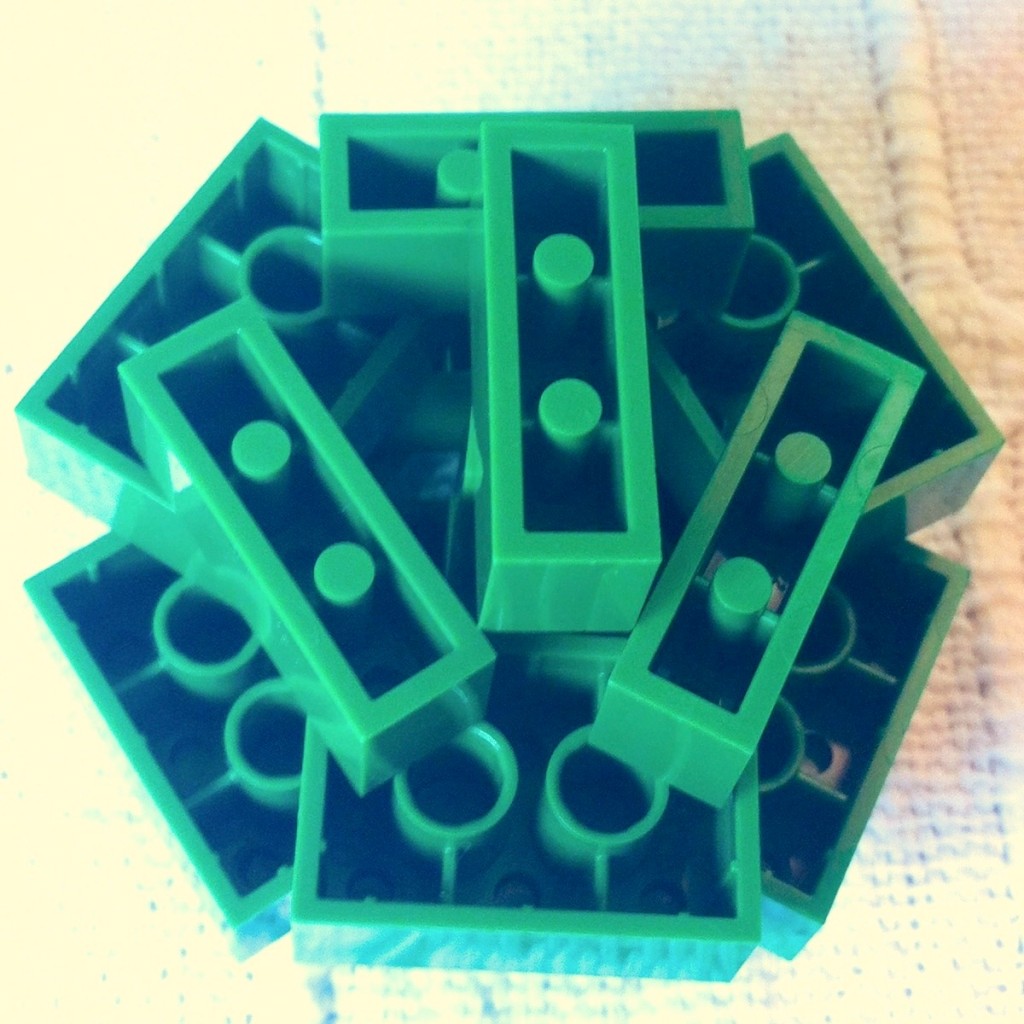
Step 2
Top with three 1×3 bricks above.
Invert and add three 1×3 bricks below.
Step 3
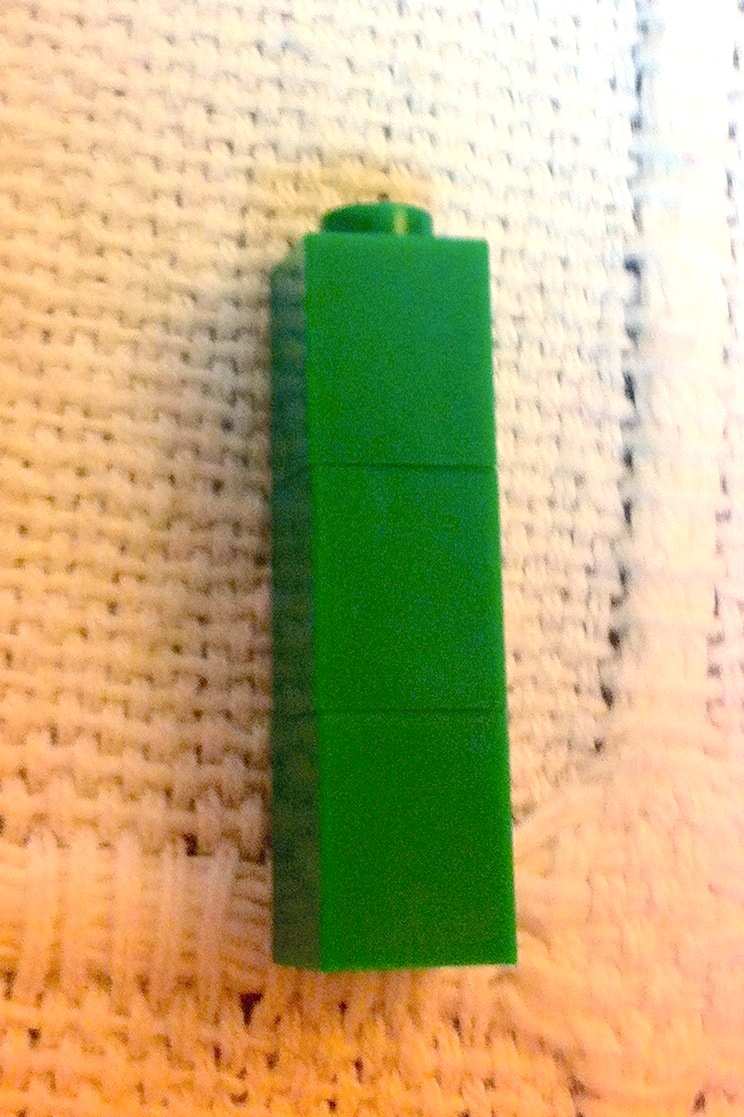
Stack three 1×1 bricks.
Insert into the centre hole of the 2×2 brick.
(⚠ This is important.)
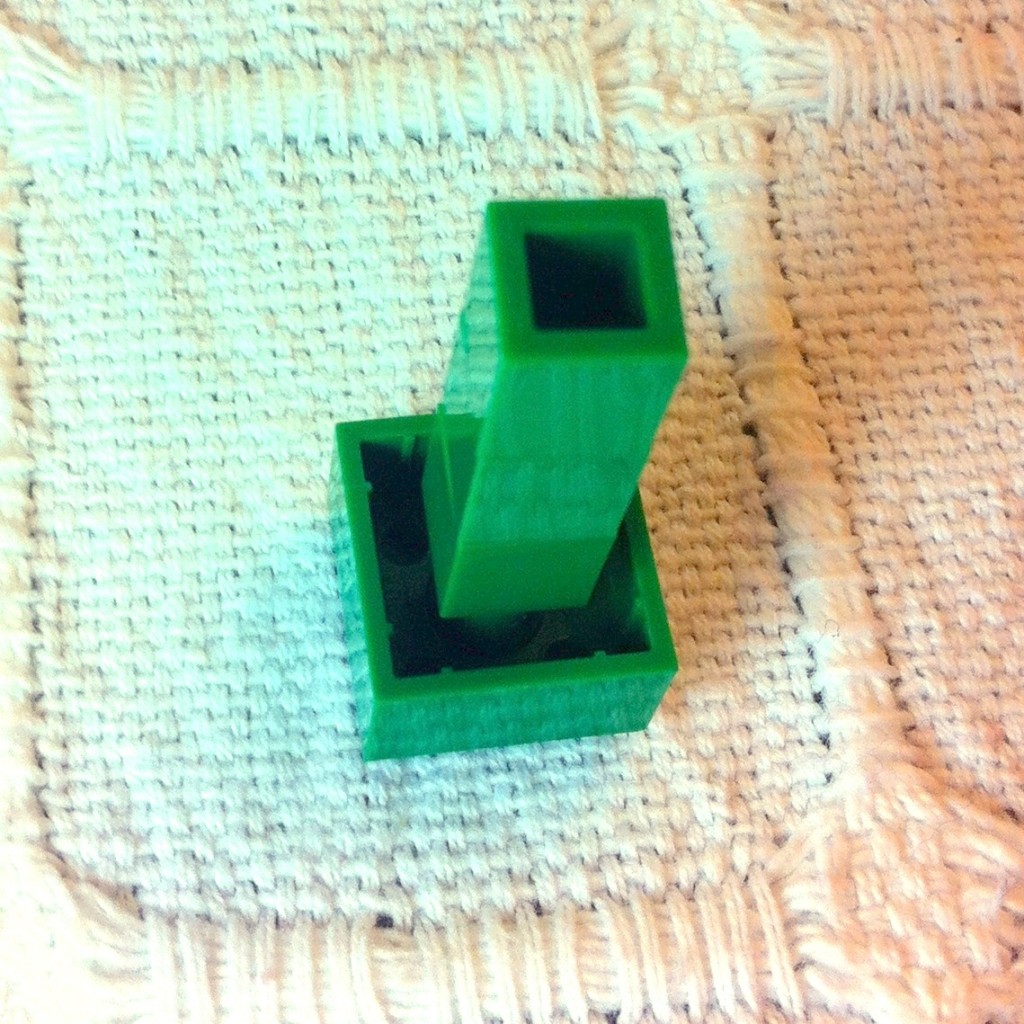
Step 4
Gently place inside the hole. One edge of the 2×2 brick should be flush with an edge of one of the 1×3 bricks.
Gently invert. Note that this inner structure is floating and not attached to the hexagonal structure.
Affix the middle of the remaining 1×3 brick to the 1×1 brick. Do not affix it to any other 1×3 brick. It should form a “T” with an edge of one of the 1×3 bricks, but the inner structure should remain floating.
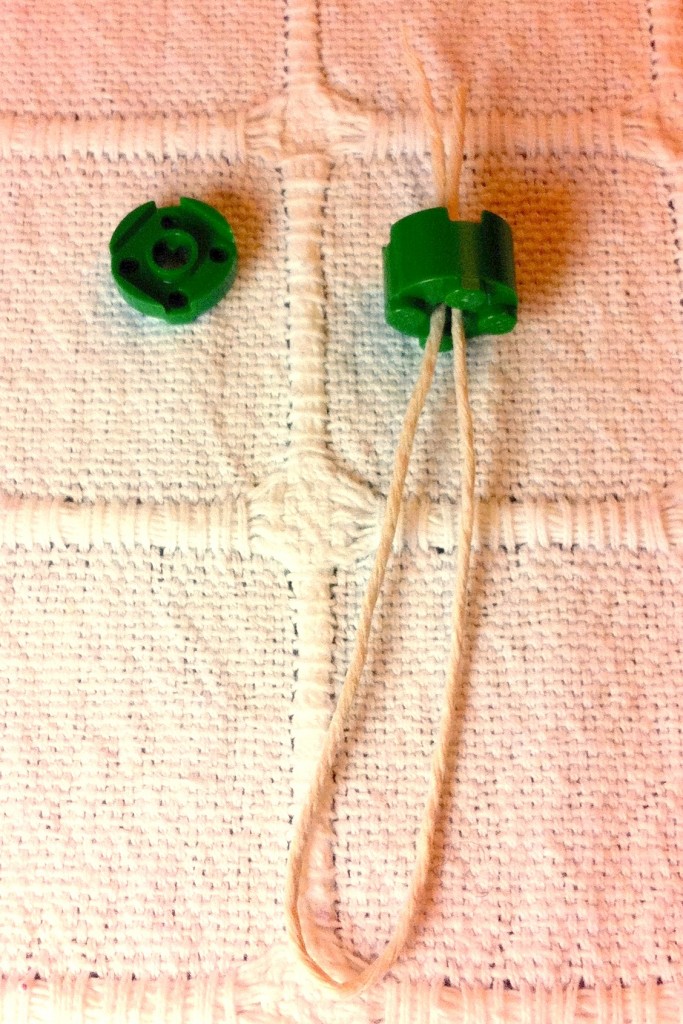
Step 5
Thread two ends of string through the top of the large round 2×2 brick.

Loop the ends back against the inside wall.
(⚐ This part onward requires a bit of dexterity, so young people may need some adult help.)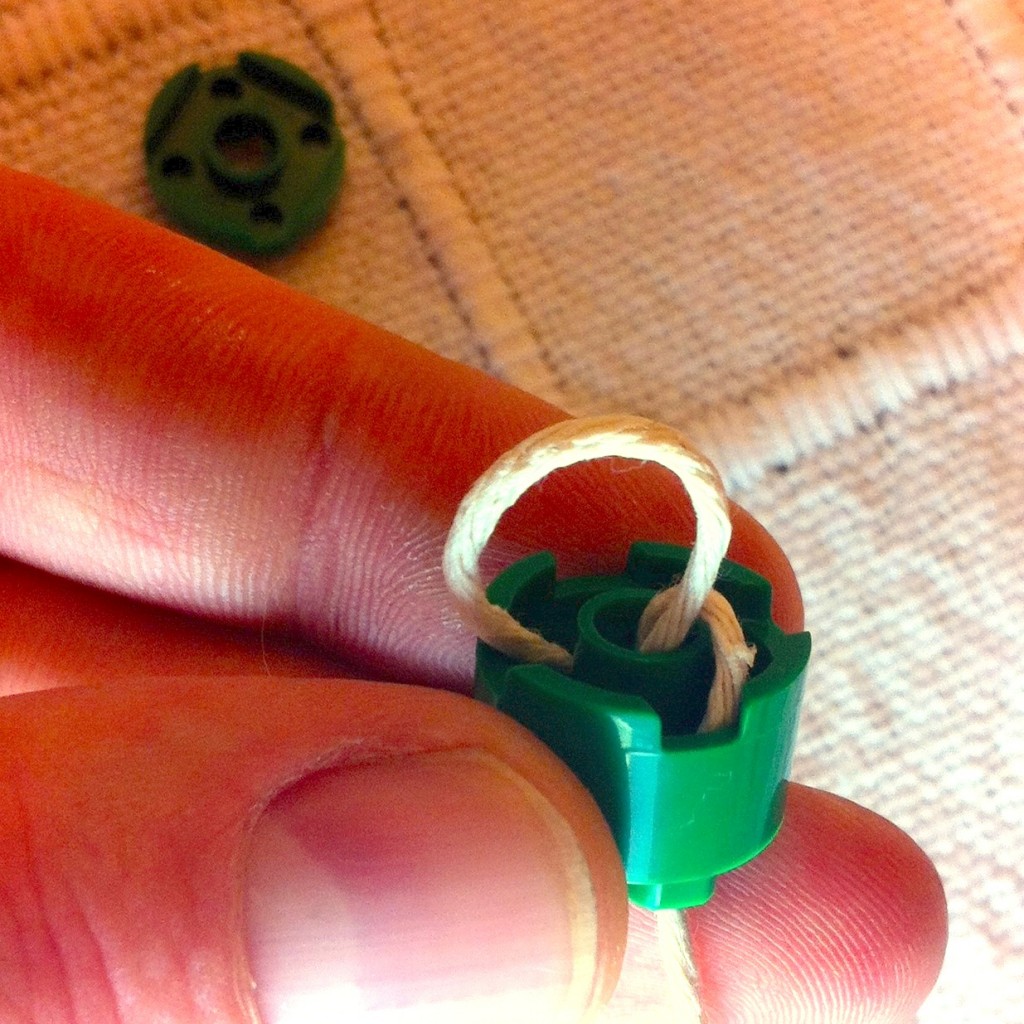
Gently pull one end of the large loop to make the loop resting against the inside wall as small as possible.
(⚠ Don’t pull too much, or you will have to thread it back through and start again.)
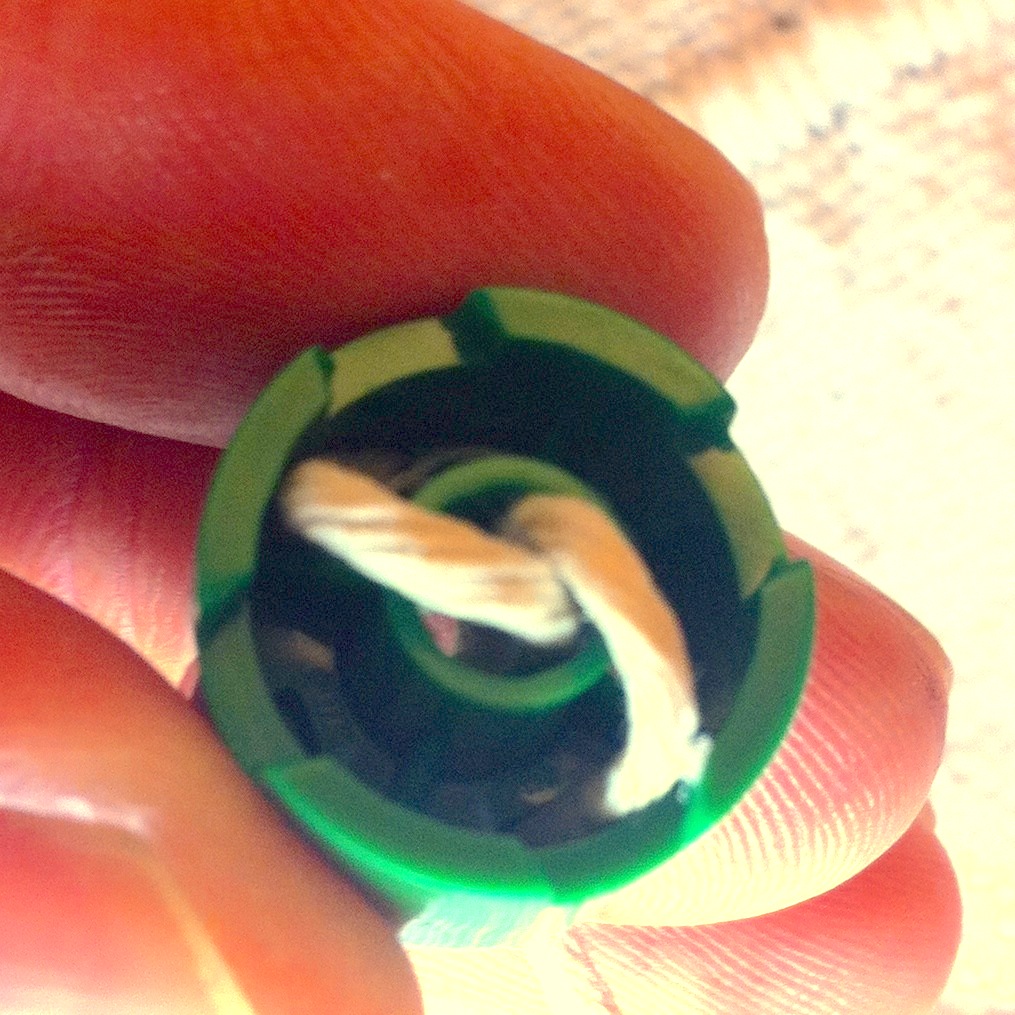
Pull the other string so both loops are as small as possible, but still resting against the outside wall of the cylindrical 2×2 brick.
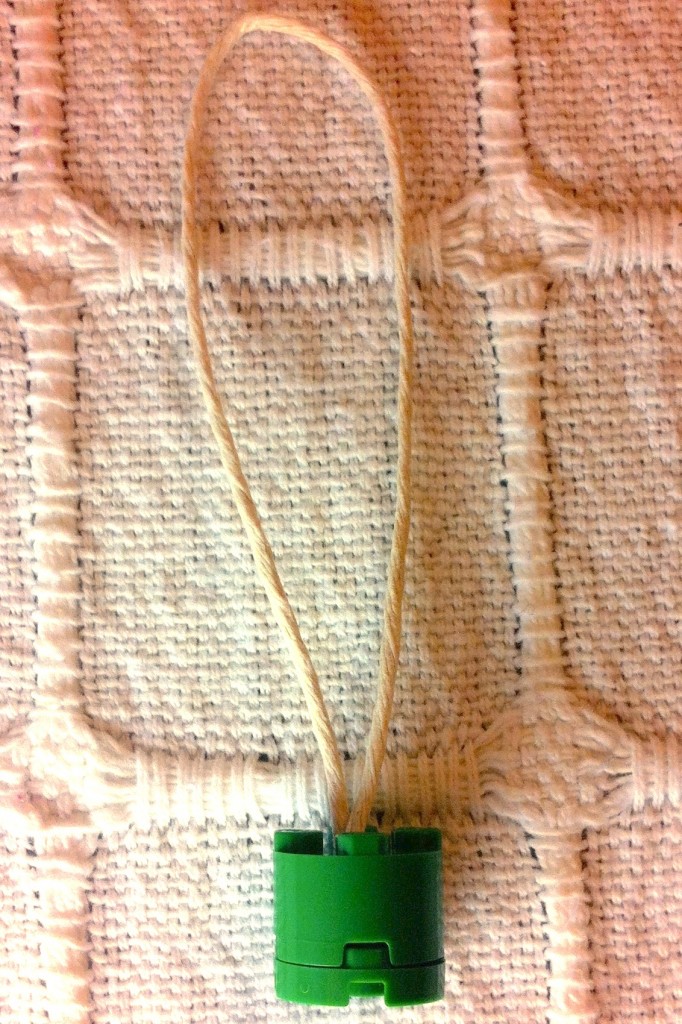
Press the 2×2 round plate into place below. While pressing the plate in place, tug the large loop to make sure it is secure. If an end comes loose, disassemble and start again.
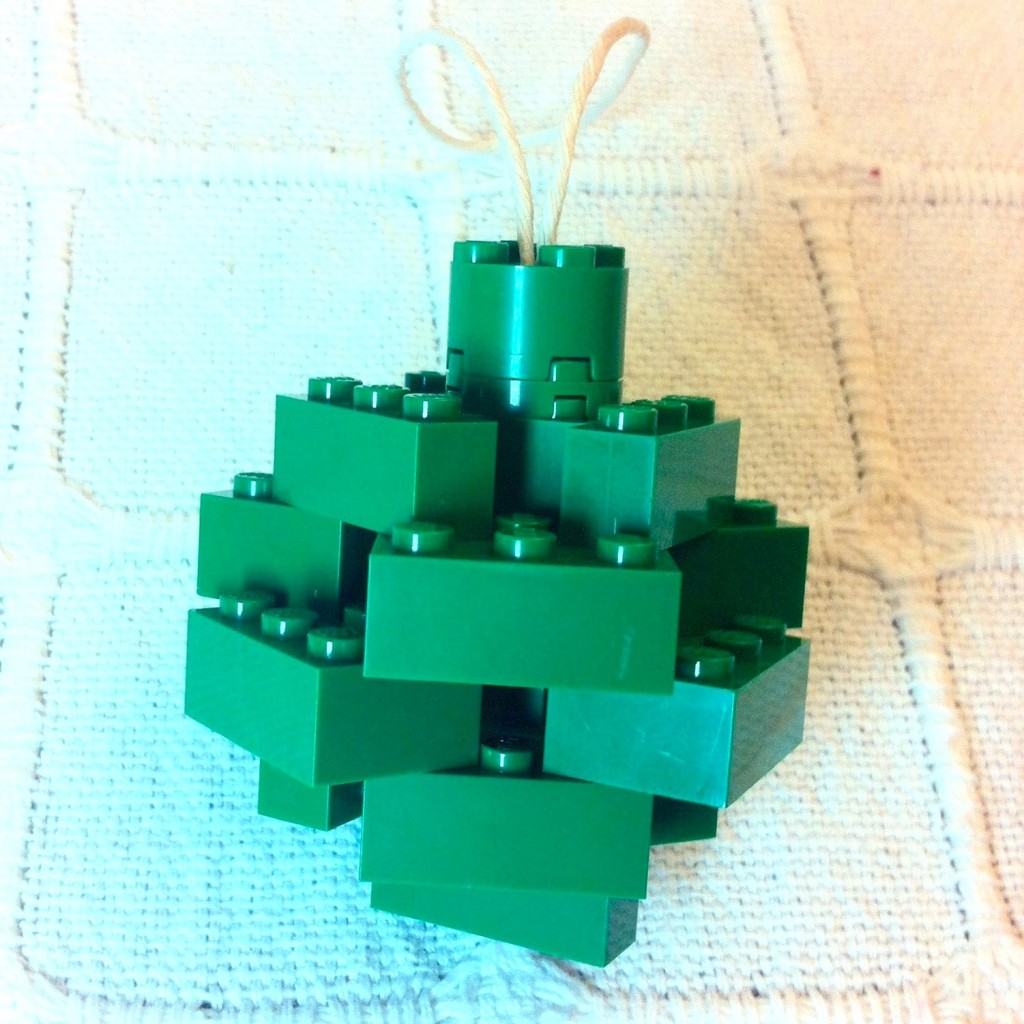
Affix the cylindrical ornament hanger to the 2×2 brick at top.
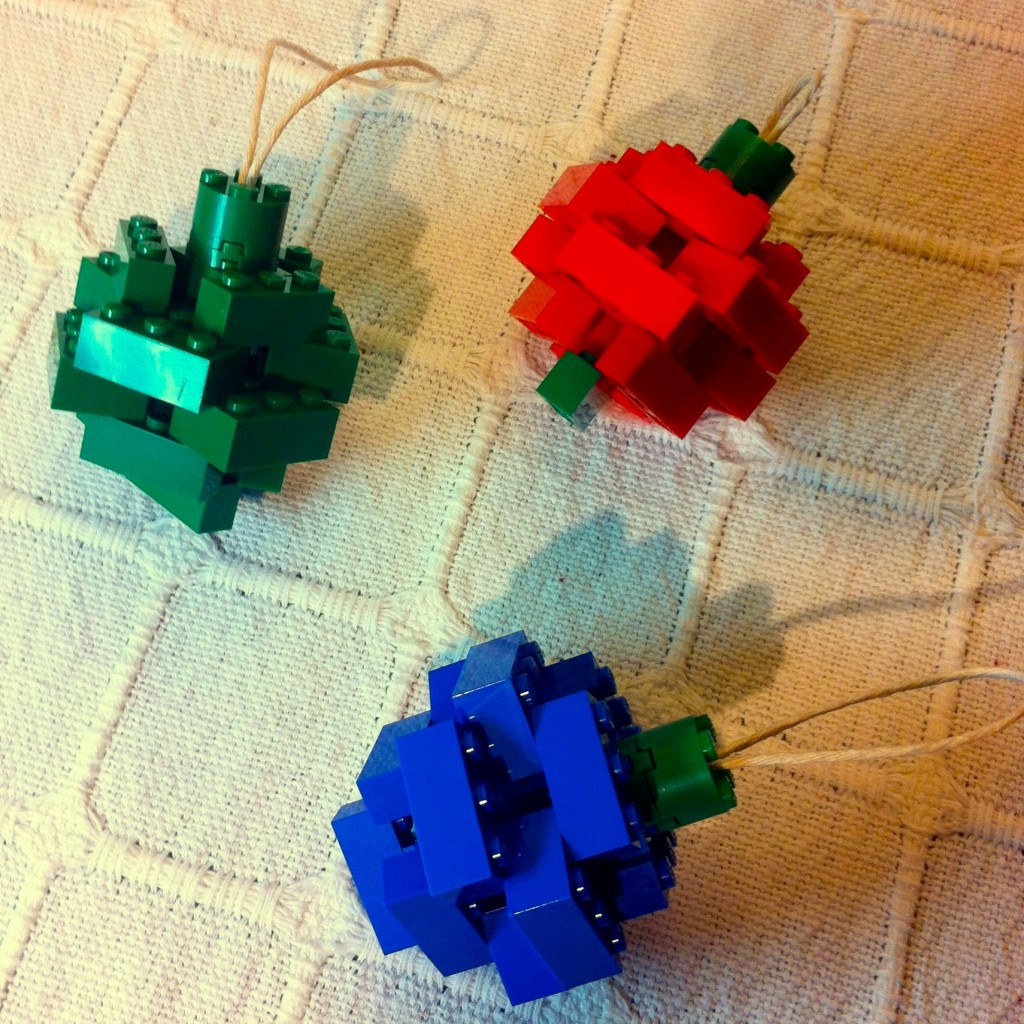
Try different colours and colour combinations

Happy Christmas!
LEGO® is a registered trademark of the LEGO Group of companies which does not sponsor, authorise, or endorse this site.